 how-to
9 Water Temperature Mistakes in Pour-Over Coffee
Last Updated: October 29, 2026
Quick Summary
The best starting water temperature for pour over coffee is between 195°F and 205°F (90°C to 96°C), with the exact setting depending on your roast. Light roasts usually need about 203°F to 205°F, while dark roasts start lower, around 190°F to 196°F.
- Start light roasts near the top of the range, around 203°F to 205°F (95°C to 96°C).
- Start dark roasts lower, around 190°F to 196°F (88°C to 91°C), to limit bitterness.
- Change only the temperature in 5°F steps, keeping dose, grind, and ratio identical.
- Cool water tasting sour or thin means go hotter; hot water tasting bitter means go cooler.
- Water at the coffee bed can be cooler than the kettle reading, so preheat your brewer.
Table of Contents
- Why Water Temperature Matters for Pour Over Coffee
- The Best Starting Temperature for Pour Over Coffee
- How Temperature Affects Bitterness, Sweetness and Acidity
- Water Temperature for Light-Roast Coffee
- Water Temperature for Dark-Roast Coffee
- Choosing a Gooseneck Kettle for Pour Over Coffee
- Dialing In Your Pour Over Temperature at Home
- Your Next Step: Brew a Side-by-Side Test This Week
- Frequently Asked Questions
Why Water Temperature Matters for Pour Over Coffee
Water temperature is one of the biggest levers you have over the taste of your pour-over. Hot water pulls flavor out of coffee grounds, and the temperature decides how much comes out and in what order. Get it wrong and your cup tastes harsh, flat, or sour, even when the beans are excellent.
Most guides point to a single number. The real answer depends on your roast, your grind, and what you want the cup to taste like. We walk through each of those below, so you can dial in a setting that works for your coffee.
Think of temperature as a tuning knob, not a fixed rule. Small changes shift the flavor in predictable ways.
The Best Starting Temperature for Pour Over Coffee
A common starting point for pour-over is between 195°F and 205°F (90°C to 96°C). Most specialty coffee guidance puts the sweet spot near the middle of that range. But "near the middle" is not a recipe. Use the table below as your first brew for each roast style, then tune from there.
| Coffee style | Starting kettle temp | Why |
|---|---|---|
| Light roast, dense or high-grown | 203-205°F (95-96°C) | Dense beans resist extraction; heat opens them up |
| Medium roast | 199-201°F (93-94°C) | Balanced solubility; middle of the range works |
| Dark roast | 190-196°F (88-91°C) | High solubility; cooler water keeps bitterness in check |
| Decaf or very dark, oily beans | 188-192°F (87-89°C) | Already porous; extracts fast and turns ashy when hot |
| Natural-process, fruit-forward | 197-201°F (92-94°C) | Preserves delicate fruit notes without flattening them |
These are starting points, not rules. Brew one cup at the listed temperature, taste it, and adjust in 3 to 5 degree steps. Move up if the cup tastes sour, thin, or grassy. Move down if it tastes bitter, dry, or ashy.
Keep the water-to-coffee ratio and grind size the same while you test. Changing too many things at once makes it hard to tell what caused a difference. A common pour-over baseline is a 1:16 ratio (for example, 20 g of coffee to 320 g of water), a medium-fine grind, and a 30-second bloom with about twice the coffee's weight in water.
If you do not have a temperature-controlled kettle, heat to a full boil and let the water rest. Use an instant-read thermometer to confirm the first few times.
How Temperature Affects Bitterness, Sweetness and Acidity
Hotter water extracts more compounds from coffee, faster. Bright, acidic flavors tend to come out first. Heavier, more bitter compounds take longer and need more heat or more contact time.
This creates a simple pattern:
- Cooler water: Less extraction, brighter but thinner, sometimes sour
- Hotter water: More extraction, fuller body, more risk of bitterness
- Balanced water: Sweetness and acidity sit together without harshness
If your cup tastes bitter at a temperature that works for others, your grind may be too fine, not your water too hot. Check grind size before you lower the heat.
Water Temperature for Light-Roast Coffee
Light roasts are denser and less soluble, so they usually need hotter water to extract well. Many brewers start light roasts near the top of the range, around 203°F to 205°F (95°C to 96°C).
Watch for these signs that the water is too cool for a light roast:
- Flat or grassy flavor
- Sourness that overwhelms the fruit notes
- A thin, watery body
If you see those, nudge the temperature up a few degrees before changing anything else.
Water Temperature for Dark-Roast Coffee
Dark roasts are more soluble and extract quickly, so they are easier to over-extract. Many brewers start them lower, around 190°F to 198°F (88°C to 92°C), to keep bitterness down.
Signs that your dark roast water is too hot:
- Ashy, burnt, or heavily bitter notes
- A dry finish that lingers on the tongue
- Muddy flavor that hides the chocolate or nut notes
Lower the temperature in small steps and keep the same grind and ratio so you can compare cups fairly.
Choosing a Gooseneck Kettle for Pour Over Coffee
Hitting a target temperature is much easier with a kettle built for pour-over. A gooseneck kettle gives you a slow, steady stream, which keeps the bed of grounds evenly wet. A built-in thermometer lets you see what you are pouring at.
Chefbar Stovetop Gooseneck Kettle with Thermometer, 28 oz →
The Chefbar Stovetop Gooseneck Kettle with Thermometer, 28 oz ($49.99) fits this job. It works on a camp stove or a kitchen range, its narrow spout gives controlled pours, and the built-in thermometer helps you heat water to your chosen setting. The kettle holds about 4 cups (28 oz, or 0.8 L), so fill it to 80% to avoid overflow.
If you brew on the trail, the same steady pour matters. Pair the kettle with a Stainless Steel Pour-Over Coffee Cone, Reusable ($22.99), which sits on your cup and needs no paper filter. The Folding Stainless Steel Pour-Over Coffee Filter, Double Layer ($12.99) packs flat, so it slips into a pack or a mug. For grinding, the TRINIDa Precision Manual Coffee Grinder ($65.99) offers 36 click settings, which makes grind adjustments easy to repeat.


Dialing In Your Pour Over Temperature at Home
Most guides tell you to "adjust to taste." That advice fails because it does not control the variables. Use a controlled workflow so you can identify cause and effect.
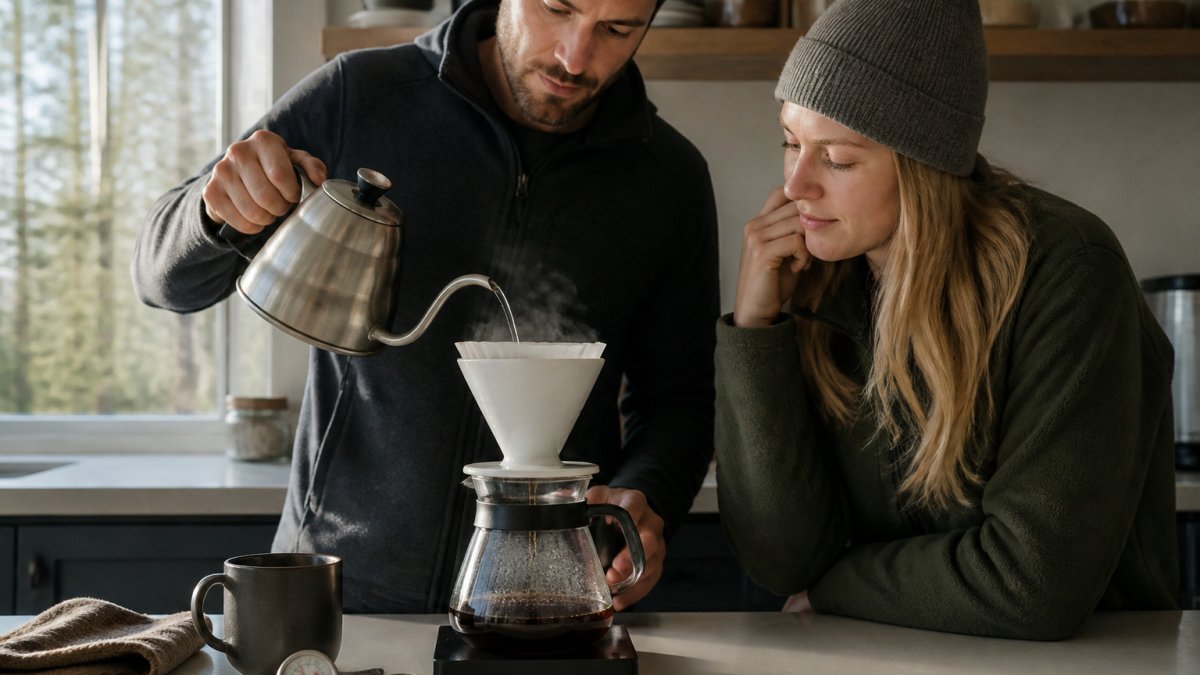
Step 1: Lock your recipe
Pick one coffee and keep it for every test. Fix these four numbers and do not change them during the tuning run:
- Dose (for example, 20 g)
- Water weight (for example, 320 g, a 1:16 ratio)
- Grind setting (record the exact click or dial number)
- Pour schedule (bloom time, number of pours, total brew time)
Write them down. Without notes, you will forget which cup was which by the third try.
Step 2: Brew a baseline
Brew at 200°F (93°C). Taste and score the cup for sourness, sweetness, bitterness, and body on a simple 1-5 scale. This is your reference point.
Step 3: Change only temperature
Brew the next cup 5°F higher or lower, not both. Keep dose, grind, ratio, and pour schedule identical. Taste and score again.
Step 4: Read the direction
- Colder cup tastes sour or thin → go hotter
- Hotter cup tastes bitter or dry → go cooler
- Both cups taste similar → your grind is doing more work than temperature; adjust grind next
Step 5: Confirm and record
Once you find a temperature you like, brew it twice more to confirm it repeats. Record the final temperature alongside your dose, grind, and ratio so the next bag of the same coffee starts from a known point.
Kettle temperature is not bed temperature
The number on your kettle is not the number your coffee sees. Water cools as it leaves the spout, travels through air, and hits the grounds. A thin stream from a gooseneck spout loses more heat than a fast pour. A cold brewer, a cold room, or a pre-rinse skipped will pull the bed temperature down further.
The water temperature at the coffee bed can be lower than the kettle reading, and it can drift lower through the brew as the pour slows. That is why two brewers using the same kettle number can get different cups.
Practical fixes:
- Preheat the brewer and rinse the filter with hot water before dosing
- Keep the kettle lid on between pours
- Pour from a consistent height and at a consistent rate
- If your kettle has a hold setting, use it; if not, reheat between pours
Check your equipment
A thermometer you have never tested is a guess. Calibrate an instant-read thermometer in an ice-water bath (32°F / 0°C) and, if it is adjustable, at boiling.
Heat to a boil, rest 30-90 seconds depending on your target, and check with the thermometer before pouring.
Your Next Step: Brew a Side-by-Side Test This Week
Pick two temperatures five degrees apart, such as 198°F and 203°F, and brew one cup at each using the same coffee. Taste them back to back and note which one you prefer. That single test will tell you more than any chart.
Start with the kettle you already own, or upgrade to a gooseneck kettle that gives controlled pours. Once you have a setting you like, keep notes and repeat it. Good pour-over comes from consistent steps, not luck.

Frequently Asked Questions
What is the best water temperature for pour over coffee?
Most brewers start between 195 and 205 degrees Fahrenheit (90 to 96 degrees Celsius) for pour over coffee. This range is the conventional starting point because it extracts flavor compounds efficiently without pulling too much bitterness. Start near the middle, around 200 degrees Fahrenheit, then adjust one degree at a time based on what you taste. Lighter roasts often taste better at the upper end, while darker roasts usually benefit from slightly cooler water.
Should you use boiling water for pour over coffee?
Boiling water, at 212 degrees Fahrenheit at sea level, is usually too hot for pour over coffee. Let the kettle rest for about 30 seconds after it boils so the water drops into the 195 to 205 degree Fahrenheit range. A thermometer on your gooseneck kettle makes this easy to check, so you are not guessing. Altitude also lowers the boiling point, so brewers at higher elevations may find their water boils cooler than expected.
How does water temperature affect pour over coffee flavor?
Hotter water extracts more compounds from the grounds faster, which can increase bitterness and body. Cooler water extracts less, which can leave the cup tasting sour or thin. Water temperature changes the balance between sweetness, acidity and bitterness, so small adjustments of two or three degrees can noticeably change the cup. Taste your brew after each change and keep notes on which temperature you prefer for each coffee.
What water temperature works best for light-roast pour over coffee?
Light-roast coffees are denser and less soluble, so they generally respond well to hotter water, often near the top of the 195 to 205 degree Fahrenheit range. Hotter water helps draw out the bright acidity and fruit notes that light roasts are known for. If a light roast tastes sour or sharp, try raising the temperature by a degree or two before changing the grind size.